Over time, a house begins to shift and settle into a new style.
As this fall, the weak points of the house walls close up, cracking under enhanced levels of pressure.
One of the more difficult repairs to make is when a crack appears around the ceiling and walls.
If we know how to maintain a plaster ceiling, however, we are able to repair the aesthetic value of a house with only a brief of work.
Here’s what we have got to do.
1. Resolve the purpose of The Crack:
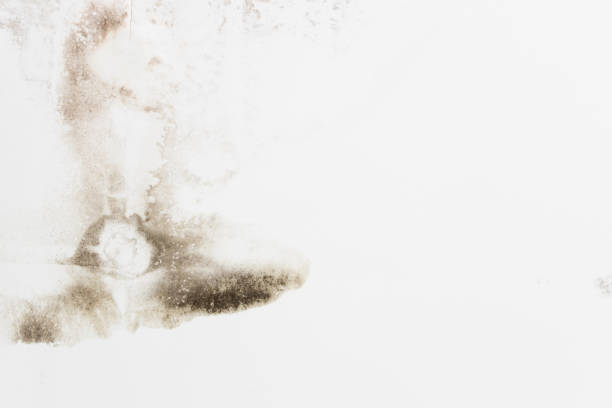
Many plaster smashes in the ceiling are because of the naturally occurring aging and sort-out movement, but sometimes another problem exists.
Water in the ceiling may cause problems cracking, as an added weight being placed precisely on the ceiling from raised.
If the wall of the house is starting to pull away from the structural supports, then water could be the issue.
2. Take out Any Damaged factors:
If there is a base wall that has been damaged, then it will want to be separated to total the fix.
Look for mold, mildew, or a crunchy feeling to the smoothness or plaster when you feel it.
If it is not secure, sometimes a simple drywall screw can fix the problems.
3. Remove Any Loose Dust And Debris:
You may need a vacuum cleaner to take off additional dust or waste.
A moist cloth will work better.
If you use a moist cloth, the area will want to dry before you can act on the next repair move.
This step is mostly important if there is debris within the gap of sagging drywall.
4. Keep up The Crack:
Once you have the ceiling kept up, we will need to begin holding up the crack so the problems don’t appear again.
You’ll want to construct fixed holes in order to do this.
A 0.25-inch bit normally works the best for this as it has the least amount of risk for beginning extra damage while up to this time giving your room to use sticky.
Once the holes are drilled, you’ll once again want to clear debris before filling them.
5. Inject The Adhesive:
Using a water-based latex product is basically the best method to fix a crack in a plaster ceiling problem, but many other acrylic adhesives can work as well.
You’ll want a lining gun that can be placed into the needle holes that you’ve entirely drilled.
Be aware not to inject too much adhesive into every hole because this can cause the plaster to come off of the ceiling.
Use a damp sponge to generate a flush area.
Repeat until done.
6. Allow To Dry:
It may take between 24-72 hours for the sticky to fully dry.
You cannot start the next step before the bond is solid.
Sand down any rough surface before starting the final fix to step as well, and be sure to extract any dust or waste that is created.
Apply The mixture in the Filler To The Crack:
Now that the ceiling is fully fixed to its foundation, you’re prepared to use the filler mixture that will help to fix the crack.
Look for a sandable mixture that dries hard and rapidly so you don’t face a lot of shrinkage during the final step.
You’ll want to make the crack flush with the ceiling, and it may take up to 3 different use days to make sure the repair holds accurately.
Let it dry according to your product instructions.
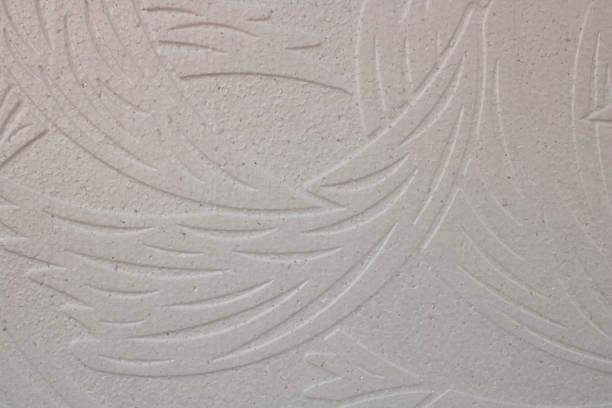
8. Use a glance Coat Of Plaster Or Joint combination:
When the crack has been filled and is smooth, it’s time to hide the repair site.
You can use a thick layer of plaster, a joint combination, or a layer of paint for this step.
If you have a mixture that you want replicating, however, it may be better to avoid paint so you won’t have to pay twice.
9. Bring to a close The Repair:
Once your covering element has dried, you’re ready to complete the repair.
Paint the site to tone with the rest of the ceiling.
Then, you’ll have a plaster ceiling fix that assists your room to look as beautiful as the new style.
Repairing a plaster ceiling is an extensive and labor-intensive process. But the result is a ceiling that looks as good as new for years to come.
Start your repair with these steps and discover how easy it can be.