All houses, old and new alike, will experience cracks in walls at some point. In most instances, small cracks are perfectly normal and nothing to be too concerned about; however, with our helpful guide, we will help you recognize when these plaster cracks are concerning.
What Causes Plaster Cracks?
Plaster cracks are small fractures within plastered walls. While they may sound concerning, most plaster cracks are extremely common and normal.
For most properties, slight cracks occur as the plaster dries and shrinks. New builds and properties that have undergone recent extensions are expected to experience cracks in walls as their foundations settle. It may come as a surprise, but stabilizing can take approximately one to three years. During this time, the building or extensions’ weight will cause the plaster to move and, in some places, crack.
Humidity, temperature changes, and moisture levels will also cause similar cracks within a plastered wall. Any fluctuations in conditions will cause the plaster to expand and contract, causing the building’s overall structure to swell and sink. As a result, hairline cracks can occur and grow over time into more noticeable cracks. These hairline cracks can also be expected as newly plastered walls dry out.
If you are experiencing some minimal cracking and none of the above applies, there still could be no reason to worry. Houses on busy roads can suffer slight cracking through the vibration the building experiences from the sheer volume of traffic going past. You may see cracks around window frames if you have updated old window frames to uPVC double glazing, even in quiet areas. Windows that are not supported by a lintel, common with timber frames, often crack around the opening.
In most cases, plaster cracks are minor issues requiring simple cosmetic attention and a plaster skim for a flawless wall. If your cracks are more substantial, it is always best to play on the safe side and investigate further.
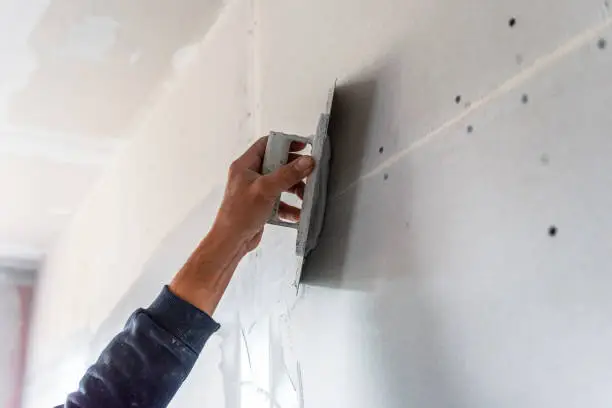
Here are some tips to repair cracks in plaster walls :
Mark the Crack :
Always Use a utility knife or painter’s 6-in-1 implement to cut along the boundary of the crack, opening up the crack lightly and removing the loose substance. While opening the crack may seem faulty, you want to reduce the surface for the joint combo to stick. Do not quickly scrape into the crack; be gentle and go smooth. Use a shop vacuum to clear all crumbs and dust from the crack.
Cut the Paper Drywall Tape :
Measure and trim more than one length of paper drywall tape to fit the crack. The drywall mixture begins to dry rapidly, so cutting the tape in advance makes this work go quicker and prevents accidentally accomplishing creases, folds, or bumps. Use a cutter or a utility knife to cut the tape; as extreme, the tape by hand will produce a ragged edge.
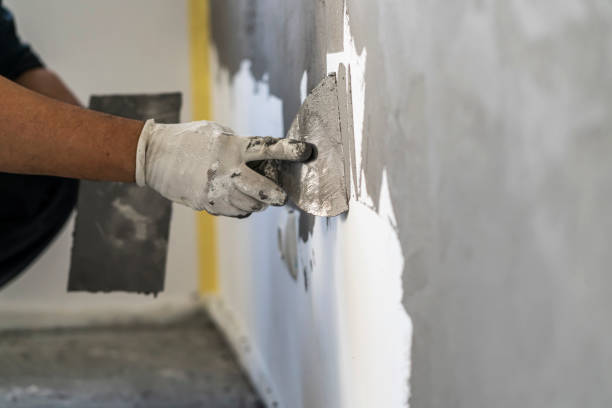
Spread the Joint Compound :
Prepare the drywall joint compound as required. Take a 6-inch drywall knife and scoop a small amount of the mixture. Apply a smooth layer of joint compound on the crack, making sure to cover an area slightly wider than the paper tape. It is important to move quickly to the next step as the joint compound dries swiftly.
Apply Tape to the Crack :
Lay the tape onto the dusty area by hand, then luster it with the 6-inch cutter with one or two paths. The aim is to flatten the tape and make sure it is in full contact with the, with no line or air pockets. Safely, not too hard, work the tape and tear it. Let the joint compound dry completely.
Mud Over the Tape :
Add a layer of joint combo over the taped surface so that the combo extends past the tape’s point using the 6-inch cutter. Flat the combo so it is flush with the surrounding surfaces. Let the joint compound dry completely.
Sand the Repair:
Smoothly and combo with a 150-grit sanding sponge or sandpaper to make easily seen bumps or cracks. Do not sand so hard that you expose the tape.
Apply an extra Mud Coat:
Add a third coat of joint compound, Now using the 12-inch cutter, to extend the crack even further. This is an optional step that helps mix the repair into a very flat wall area. If the area has some texture, it’s basically good to take the opposite access. In order to achieve a seamless repair, it is important to minimize the width of the applied joint compound. Applying an additional coat of compound up to 12 inches beyond the repair area will ensure a smooth finish. Allow the joint compound to dry totally before sanding it lightly to remove any roughness and achieve a polished look. When sanding, be cautious not to sand down into the paper tape – a very gentle sanding is enough to achieve the desired outcome.
Naet the Area :
Neat the patch and around the area with a shop vacuum. Then, wipe the area with a dry cotton cloth.